MAKING THE MINATURES
01
DESIGNING THE MODELS

NASA's database includes a collection of low-poly 3D models, which provided a useful starting point for achieving the correct scale and shape. These models were then digitally enhanced and sculpted to meet the standards required for filming.
Each section was meticulously checked against multiple reference sources to ensure the miniatures were as realistic as possible. While many parts could be 3D printed, not all were; some components were constructed using other materials, which was considered during the design stage.
Balancing material cost, time, and camera flexibility, the model was divided into several sections to ensure a large enough scale for some flexibility in all shots. This involved breaking down the model and creating connection points for assembly post-printing.

02
FUNCTIONALITY
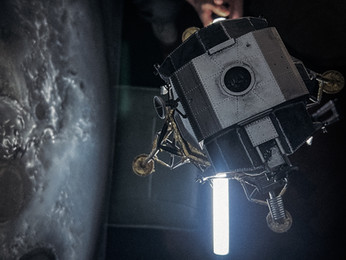
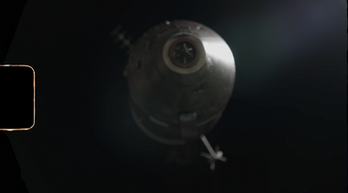
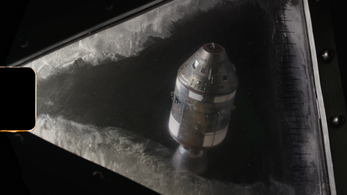
All miniatures were divided into sub-sections for accurate printing and to allow the addition of components during assembly. Both the Moon Lander module above and the CMS module to the left needed to rotate and separate as the lander descended toward the moon.
CAD software was used to design and build threaded inserts into the pivot points of the miniatures, providing the necessary fixing points for animating the models. The threads were 3/16 UNC, matching the standard for most camera equipment, which simplified attaching various mounts and rigs. Having several variations of these components and adapters on hand made rigging the setups much easier.
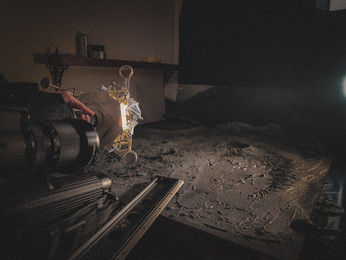
The challenge was to conceal the rigging so the models appeared suspended in space without visible strings or the need for editing tools to remove them later. Thin string was used for some animations but lacked the necessary control and could still be noticeable. Threaded inserts were strategically placed inside engines and other areas not visible to the camera, ensuring a clean look.


03
PRINTING THE MINATURES
All printing was done on the Anycubic Photon M3 resin printer, which has a maximum build volume of 298 x 164 x 300 mm.
Once the models were prepped, slicing software broke them down layer by layer. Each layer was cured by UV light until the model was fully built.
After printing, the model was washed in isopropyl alcohol to remove any residual resin that could obscure details. Following the wash, the model was cured under UV light until both the exterior and interior structures were solid.

04
ASSEMBLING THE MODELS
After printing the models, all elements were glued together, threaded fixtures were inserted, and additional components were added. A Dremel tool was used to clean up areas and add detail. Once assembled, the model was primed with a neutral grey paint, preparing it for the next step.


